


Aftermarket replacement fitting selected make model and year
compatible with
Honda
91-96 CBR600F/F2/F3;
1996 CBR 600SJR
Available feature options:
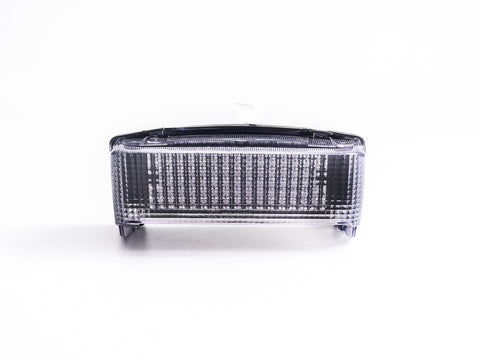
(SQL): Sequential LED Tail Light with integrated turn signals
(ITU): LED Tail light with integrated turn signals and 6x flashing brake
(INT): LED Tail light with integrated turn signals
Advantages:
- Maximum Quantity Led installed
- Free Shipping to domestic addresses
- We dispatch Our Order within 1 working day( Monday-Friday, Excl. holidays)
- Warranty: 6 months/ Return: 30days
Taillight Installation Guide: Please Read Before Purchase
While we don’t have model-specific instructions, we’ve outlined general wiring steps to help you install your new taillight seamlessly. If you encounter any issues, feel free to reach out to us.
- Running and Brake Light Functions:
The process is typically plug and play. Most of our LED lights are equipped with OEM plugs. However, some older versions feature 1157 types of dual contacts bulb socket (refer to the pictures in the listing for identification), offering a direct replacement for your existing bulb. In the case that the socket doesn’t fit certain newer models, you’ll need to swap it out with the bike’s factory connector.
Wiring color reference:
Black wire: Negative (Ground)
Red wire: Running Light
Green wire: Brake Light
- Turn Signals Activation:
Connect the yellow wire (or yellow & black wire) to the positive wires of your bike’s left and right turn signals to activate the built-in turn signals.
If additional black wires are provided, always connect them to the ground wires.
- (Optional) Dealing with Error Codes or Alerts:
If switching from an incandescent bulb to an LED taillight, you may encounter error codes, rapid blinking, or static amber lights, these are common due to the low current of LED lights. So, we need to increase the current. Fix this by adding provided resistors into the circuit in parallel connection with the taillight (using the included diagram as a guide).
For certain models, an LED replay may be included instead of resistors, in such cases, simply replace the stock relay with the provided LED replay.
**Useful Tips in Installation:
If the light doesn’t illuminate, ensure secure wiring and connectors first.
Reconnect them, and if issues persist, test with Test Light, or connect directly to a 12V battery using the provided wire colors.
Contact us if it still doesn’t work for a replacement.
Thank you for your purchase from us! Ride safely!
